For a description of the building, see the building log. Use your browser search feature to search by key word and the back button to return.
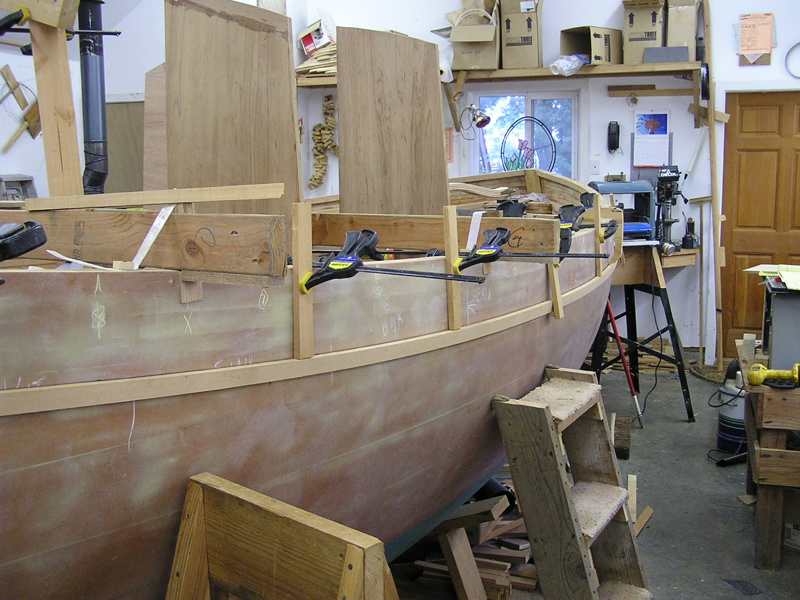
The scuppers There are eight on each side to drain water off the deck through the 7" high bulwark Here the cross straps have been replaced with cross beams, which hold the hull springback in check A batten marks the top of the rub rail which is also the bottom of the scuppers.

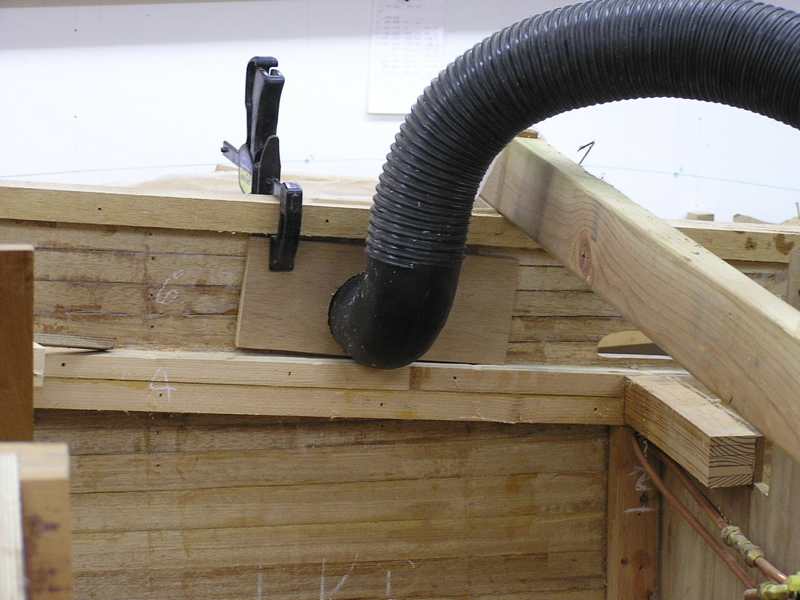
Routing out the scuppers and rounding the holes on the outside is very messy from fiberglass So, I made up this hood to catch the trimmings with the dust collector.

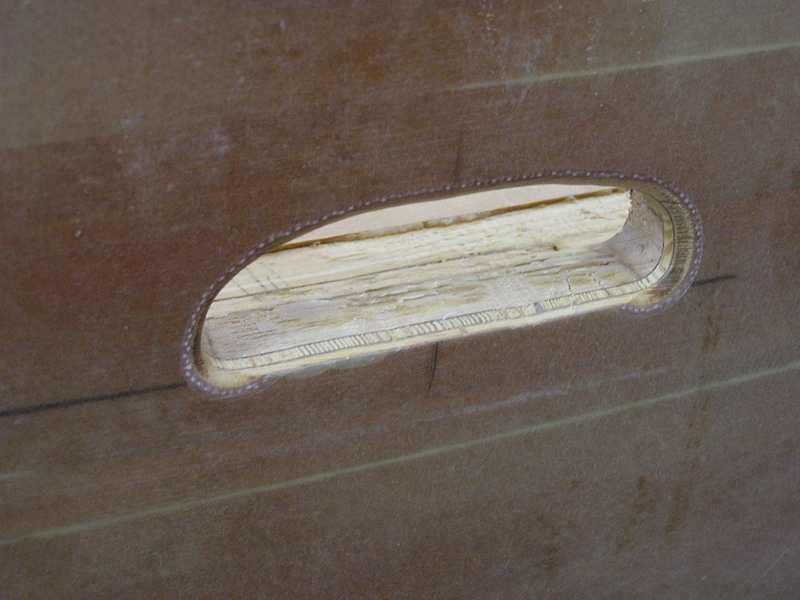
This is a finished scupper The top of the deck will be flush with the bottom of the scupper and the top of the rub rail on the outside The edges of the scupper will get a coat of fiberglass when the deck is glassed The teak rub rail will be attached with screws and bedding.

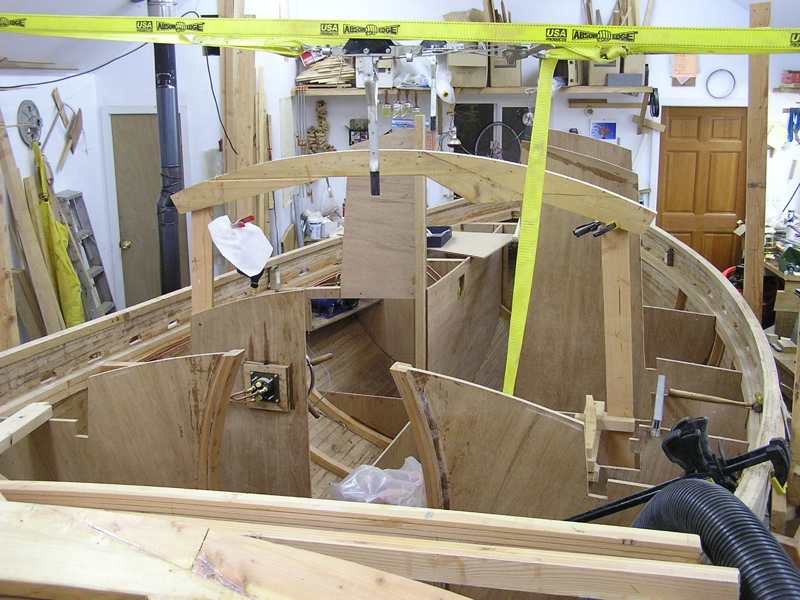
Some of the scuppers are visable on both sides in this photo I think they give the boat good character and I can't wait to see water gurgling through them when sailing hard on the wind I returned the cross straps so that I don't have to duck under the beams when working inside.

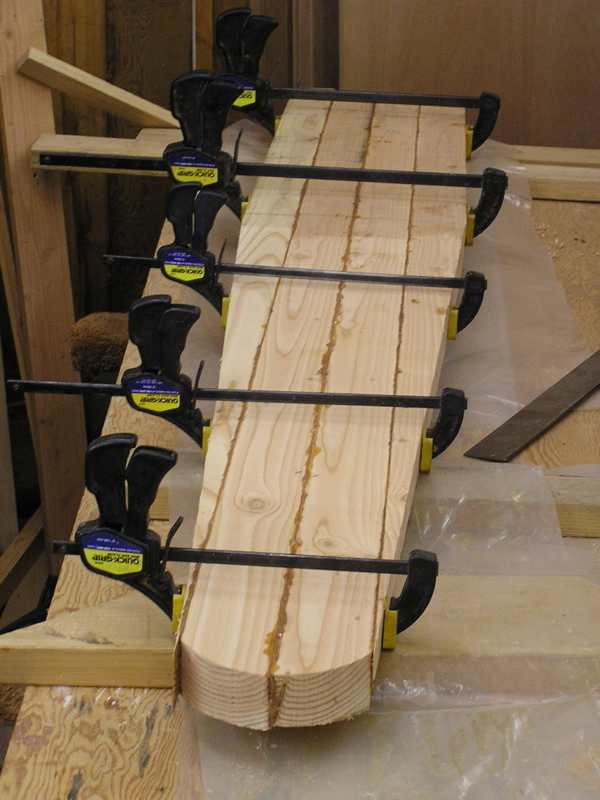
This is the start of the bowsprit It's made from four pieces of douglas fir, epoxied together.

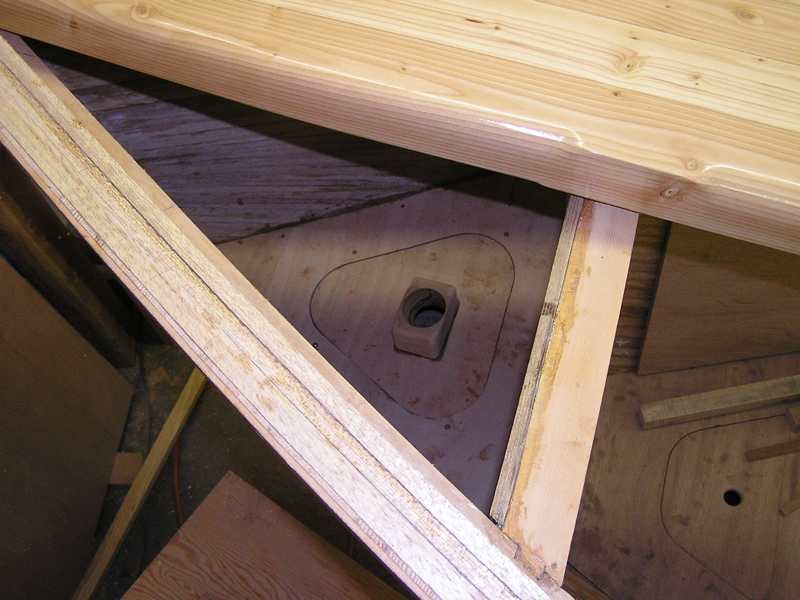
The finished bowsprit is sitting about where it will eventually be on top of the deck There is a big stack of plywood stacked against the door where the end of the sprit will go The top of the chain locker shows in this photo The chain pipe will feed through the deck through a tube into that block in the center of the shelf.

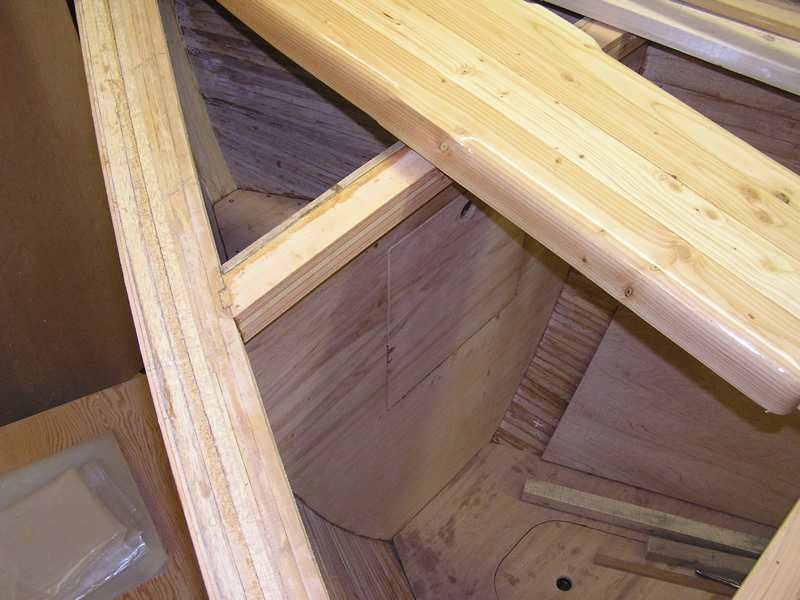
This is taken a little further aft, showing the access door to the forepeak and the hatch to the forward stowage in the vee berth.

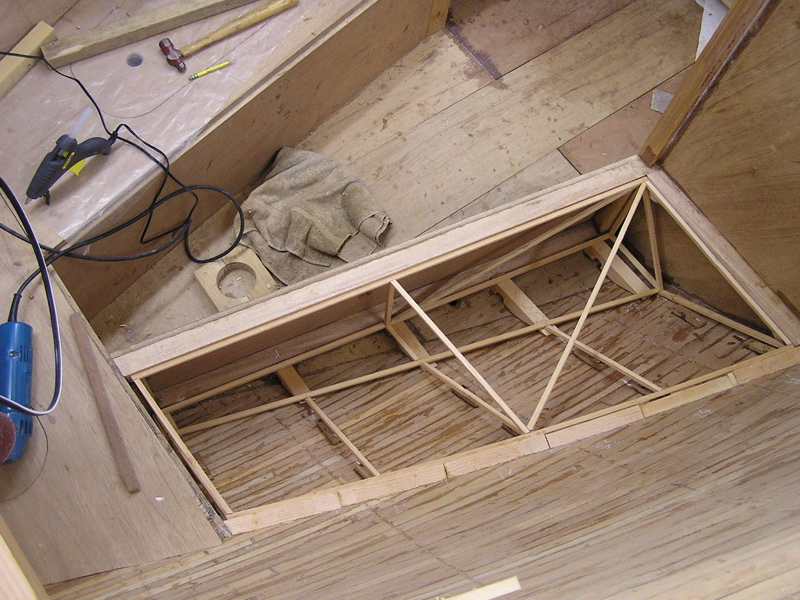
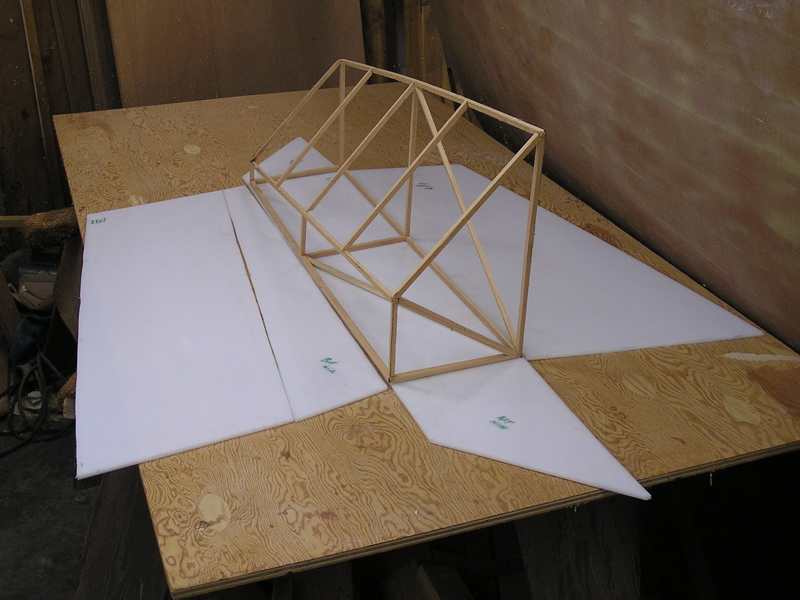
I built a model of the water tank using strips of fir, hot glued together in place under the vee berth.

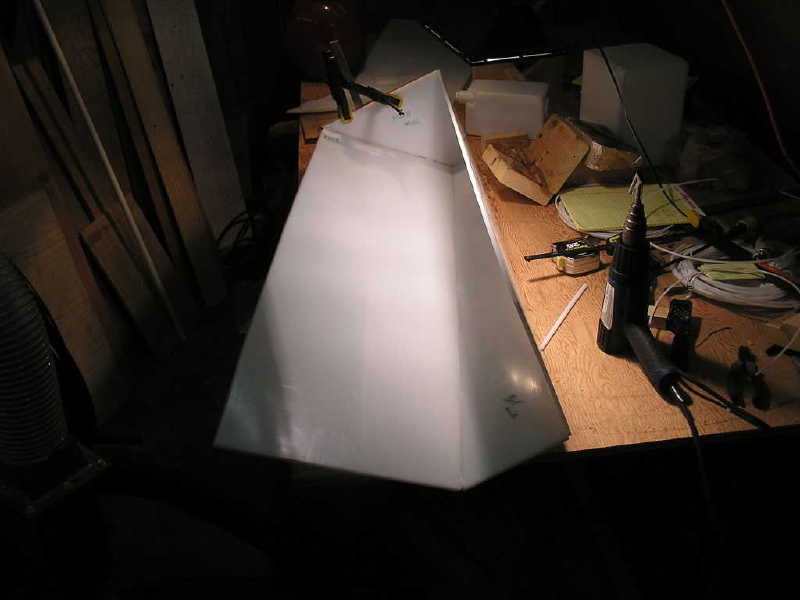
Cutting the panels for the tank from a sheet of plastic (HDPE) from the model was easy I'm now waiting for delivery of the hot air welder to see if I can actually weld this material HDPE does not glue so welding or molding are the only ways that a tank can be made.

Tack welding the first four sides of the main tank was actually easier than welding the smaller tanks.

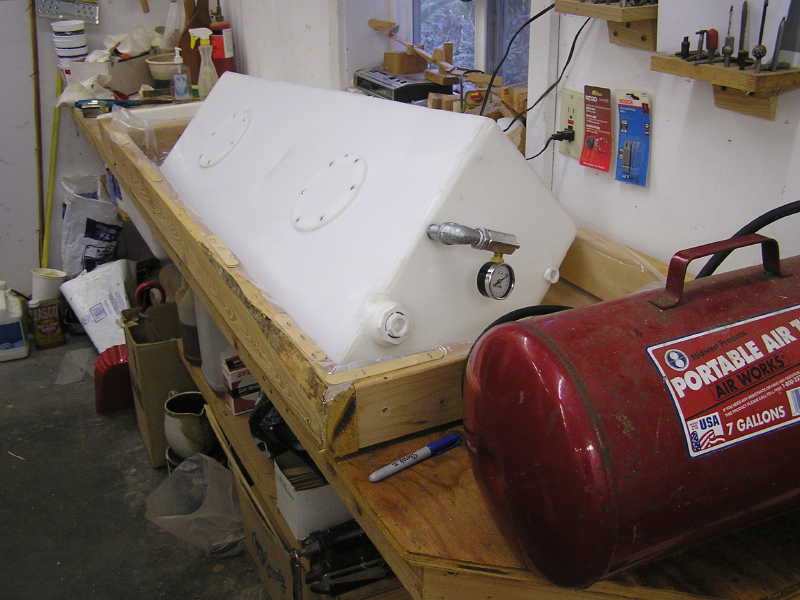
Finshed tank in the test tub where I found the last of the small leaks by holding the seams under water while pressurizing the tank.

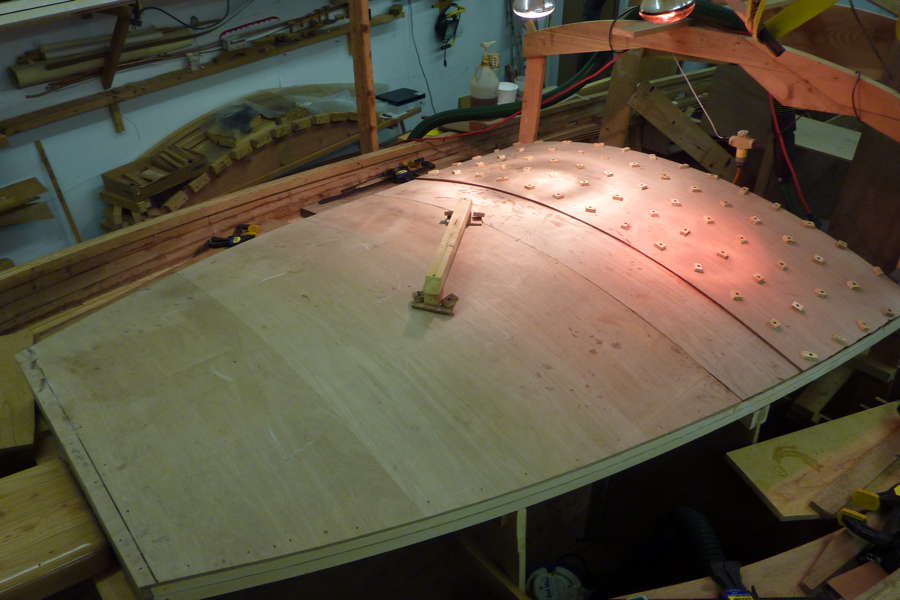
The forward cabin roof came next Since the front pilothouse windows sit on top of this and the roof sits on top of the mast arch, this had to be the next step in the sequence of building the cabin There is one temporary mold in the forward cabin and several in the pilothouse to insure the right bend in the sides and roof I used screw blocks to clamp the layers of plywood.
