The status is that with Scott's help, I found the perfect builder to complete the project and in Oct, 2013 the hull was trailered to her new home on Bainbridge Island!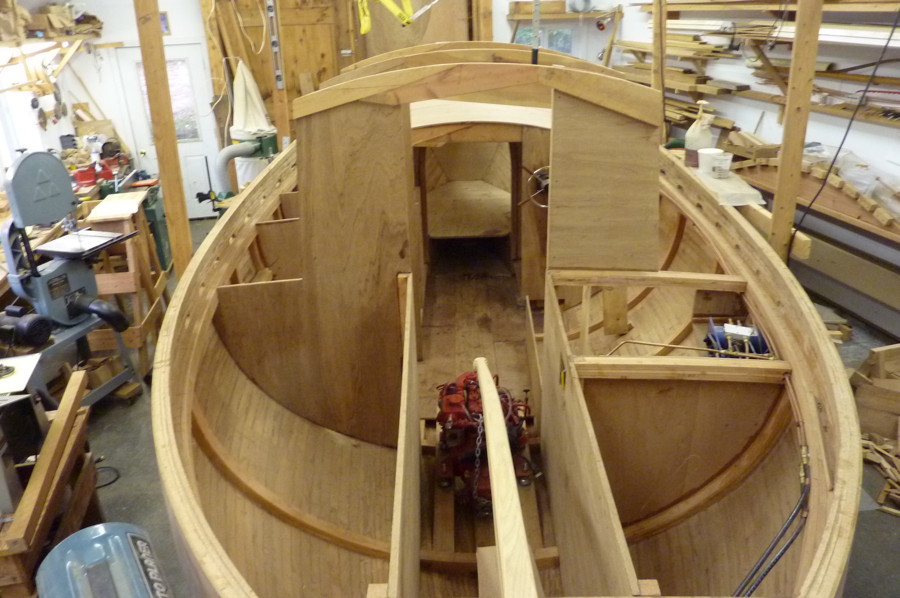
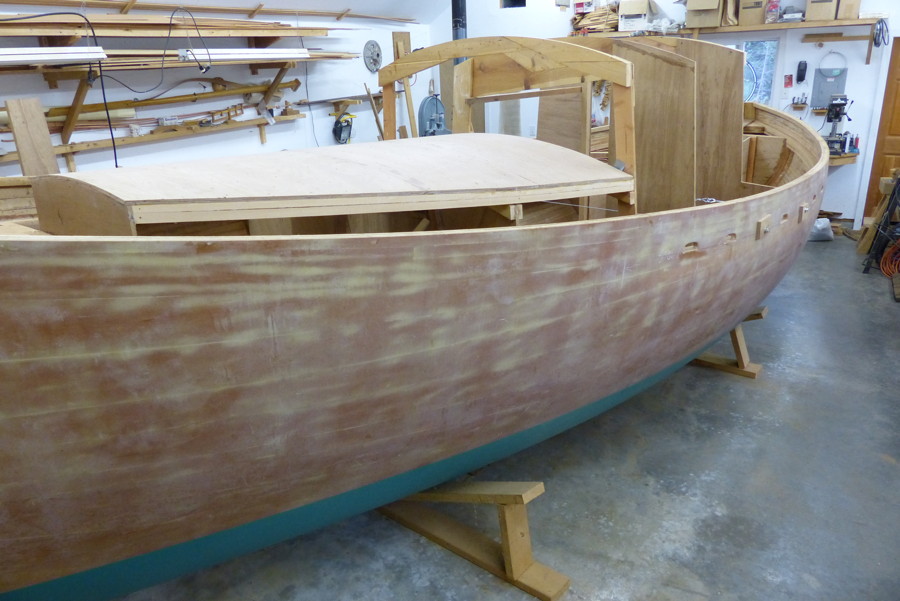
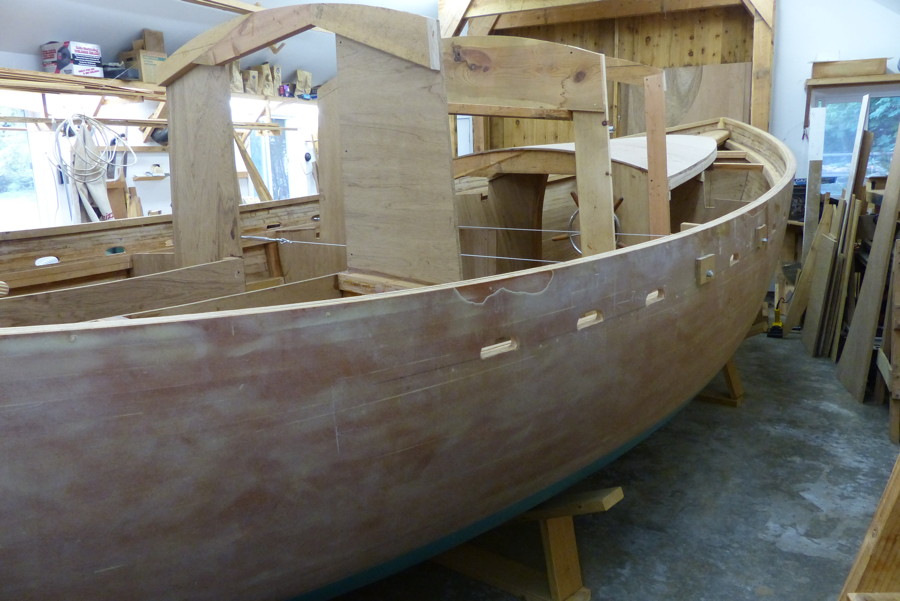
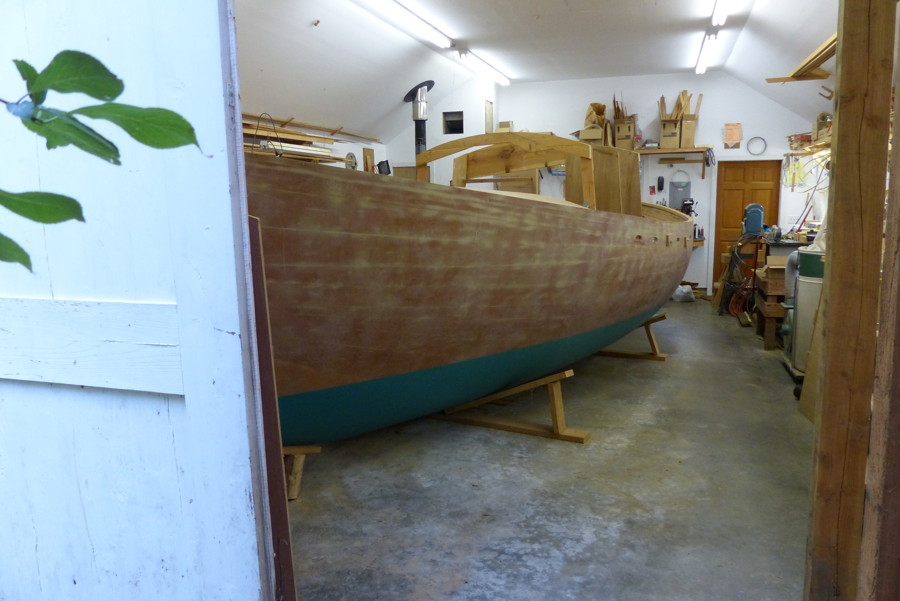
The photo below is looking forward over the aft stem after I cleaned away some of the clutter in preparation for moving.
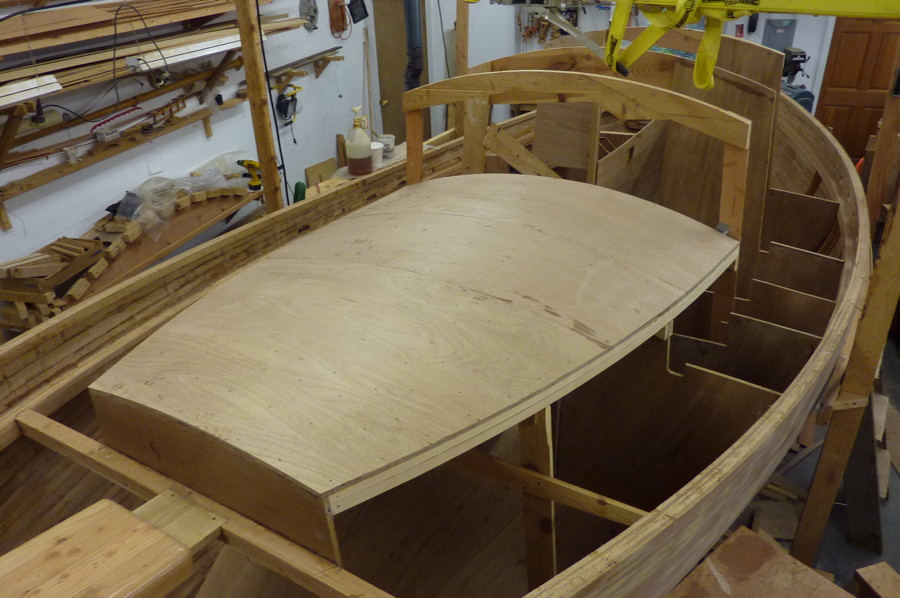
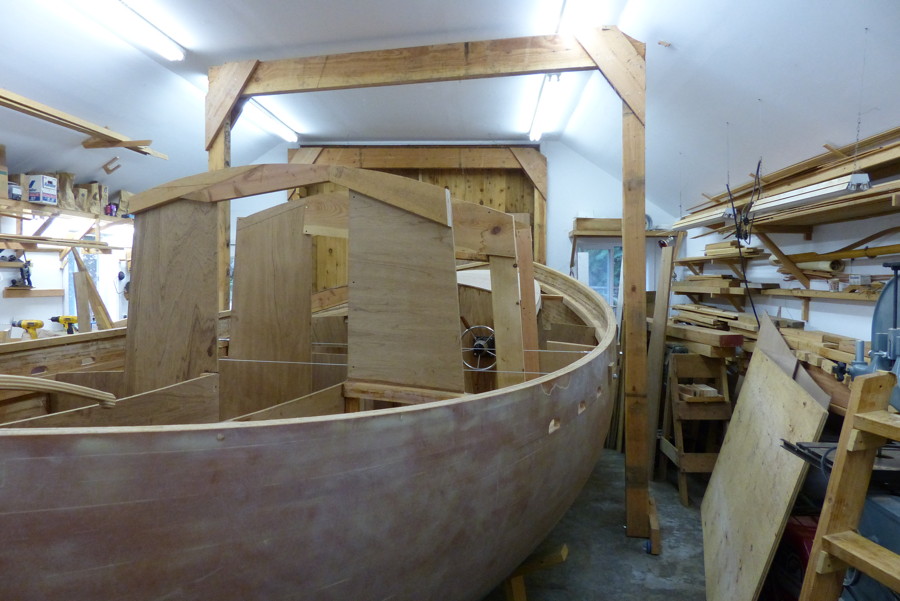
The forward cabin roof was completed. A 24" by 24" hatch will be centered in it, cabin sides will extending from the pilothouse will wrap around. Temporary molds for the pilot house sides and roof are in place as is a temporary mold inside the forward cabin.
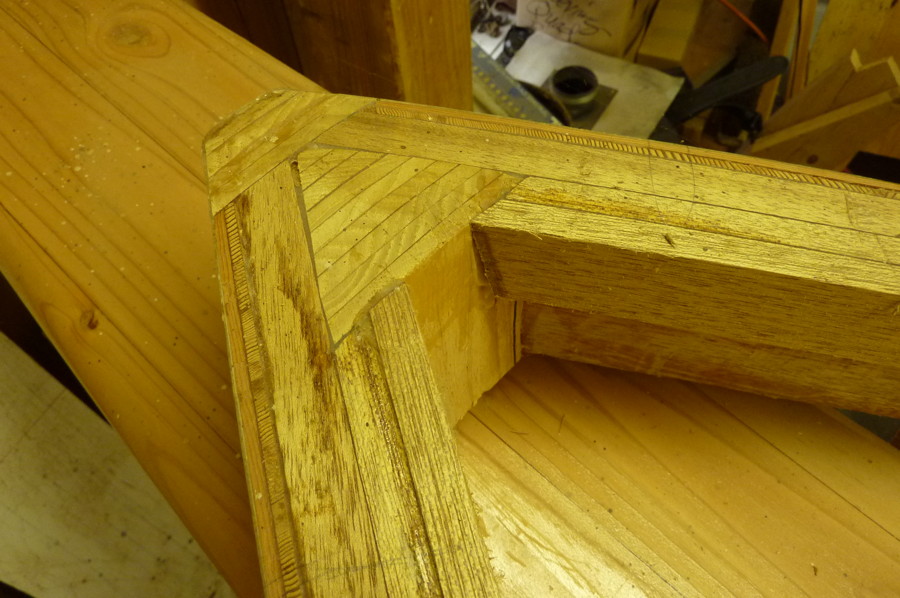
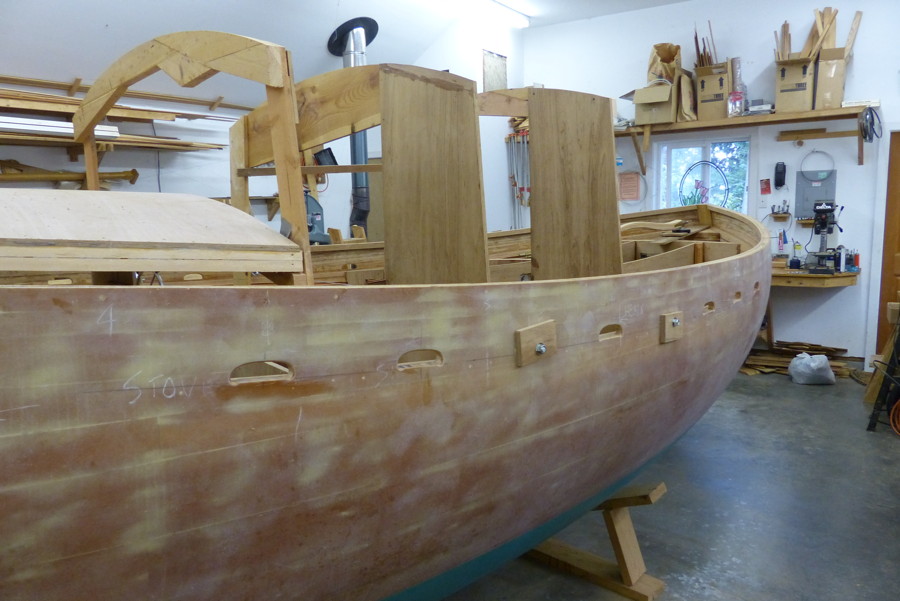
This is close up view of the forward stem at bulwark level. Stem laminations are 1/4" and the hull laminations of 2 layers 1/8" fir over one layer 5/8" meranti strips can be seen. A 2.5" x 1" cap rail and breasthook will go on top of this.
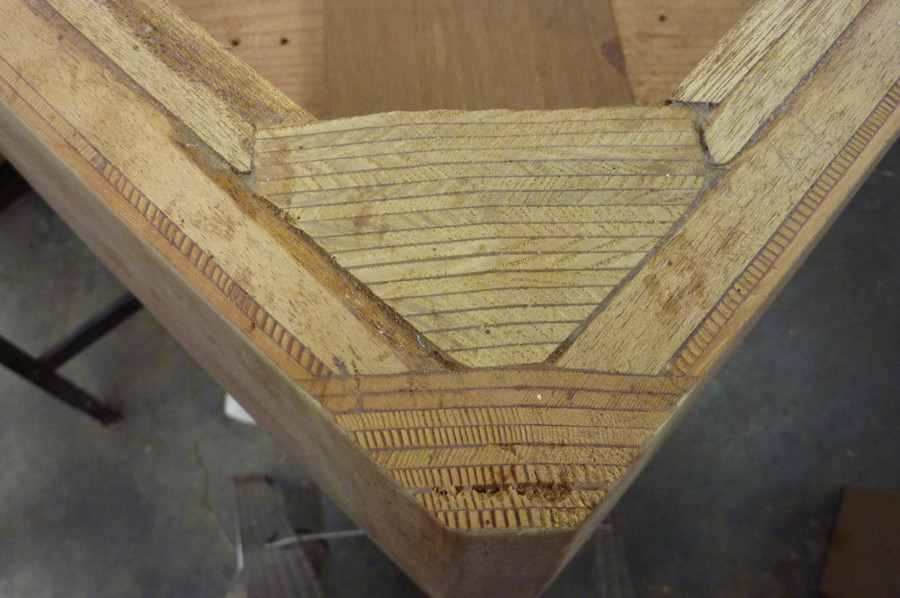
This is close up view of the aft stem at bulwark level. These stem laminations are 1/8" due to the tight curvature.
Included with the hull are: - the hydraulic steering system, motor, helm pump and valving for autopilot control - 2750 lb. lead keel, deadwood, skeg, rudder, rudder post and tiller more info. - BS 1088 meranti plywood: 1/4" 7 sheets, 1/2" 3 sheets, 3/4" 2 sheets. - Four 6'x 3/4" bronze rod for keel bolts, 3/8" bronze plate and nuts for mounting to floors. - Laminated arc segments for all deck and cabin roof sections.
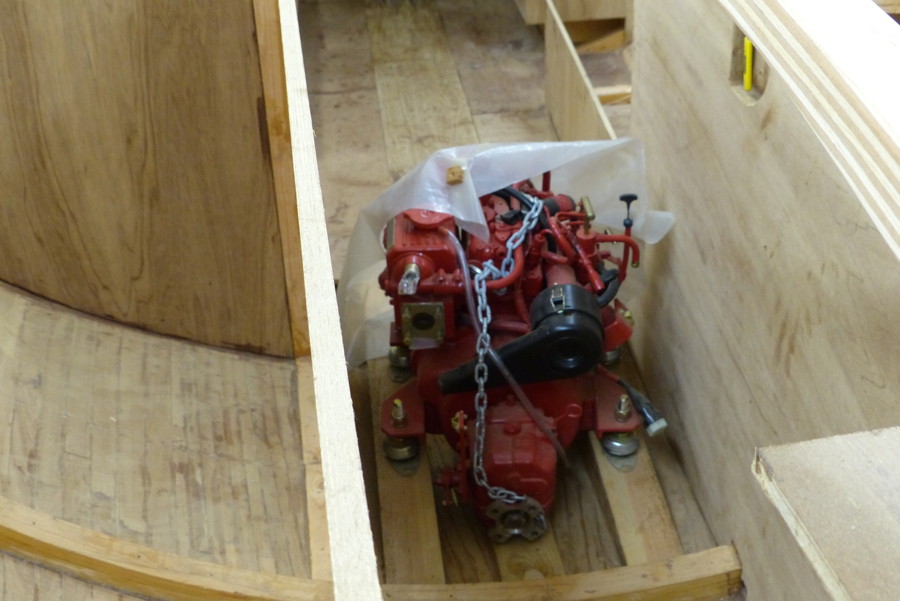
Engine is Beta Marine BZ482, 13.4 hp 2 cylinder diesel. It was purchased new in Jan '05 from Sound Marine Diesel, LLC in CT and has never been run. Includes instrument panel, exhaust elbow, muffler and controls. The current version of this engine is the Beta 14. This is the BZ482 engine manual.
The Galley/Cabin stove is a Wallas 125 DP Galley Stove purchased from Scan Marine in Seattle in 2005. The current version of this stove is the Nordic-Dt
Move Preparations
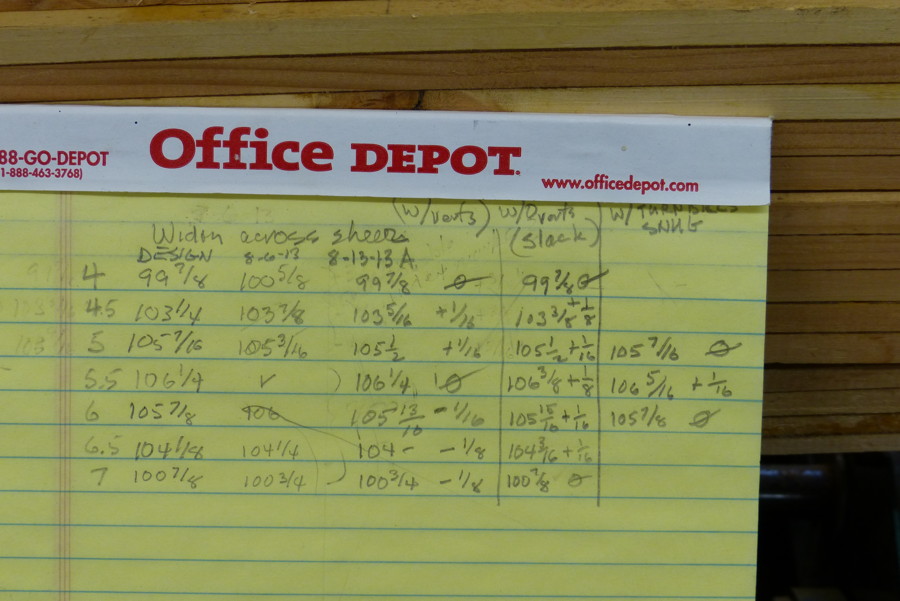
August 13 - My first effort was to clean out things stored under the hull and to remove the springback preventers. I installed those in 2002 when I found the beam had sprung out after removing the molds. The total springback was only a little over one inch, but the hull had to follow the design better than that because it also increase the rocker of the hull. So I installed beams around the outside, fixed to the floor with anchor bolts into the concrete and the tops pulled together with come-alongs. So, with all that clutter out of the way, it's easier to see the hull once again. These are my notes on the springback. The beam had remained very close with the external restraints so I was pleased to find that it came out even closer with the turnbuckle setup, and even more pleased to find that the new relaxed springback was only 1/16" to 1/8". The "Design" column widths are twice the half widths taken directly off the lofting wall.
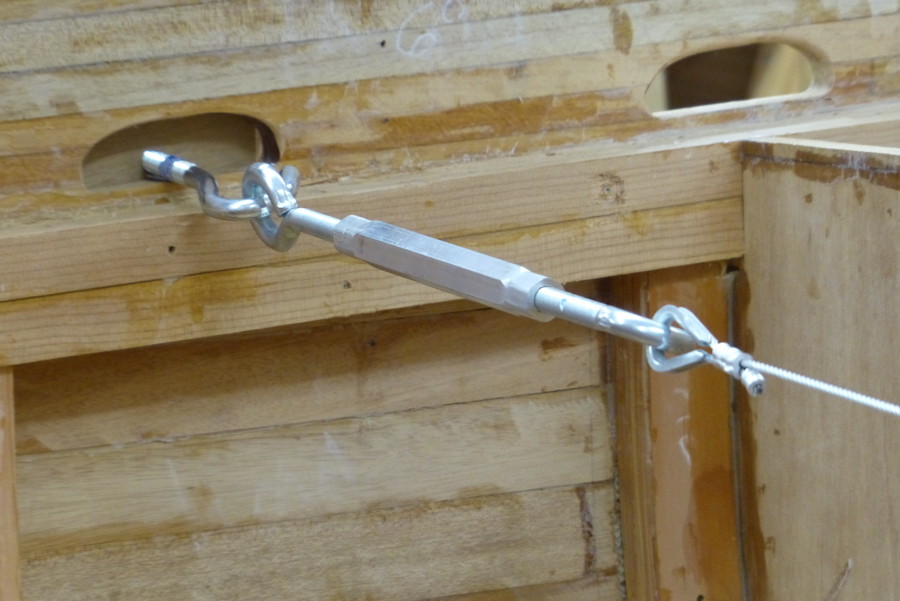
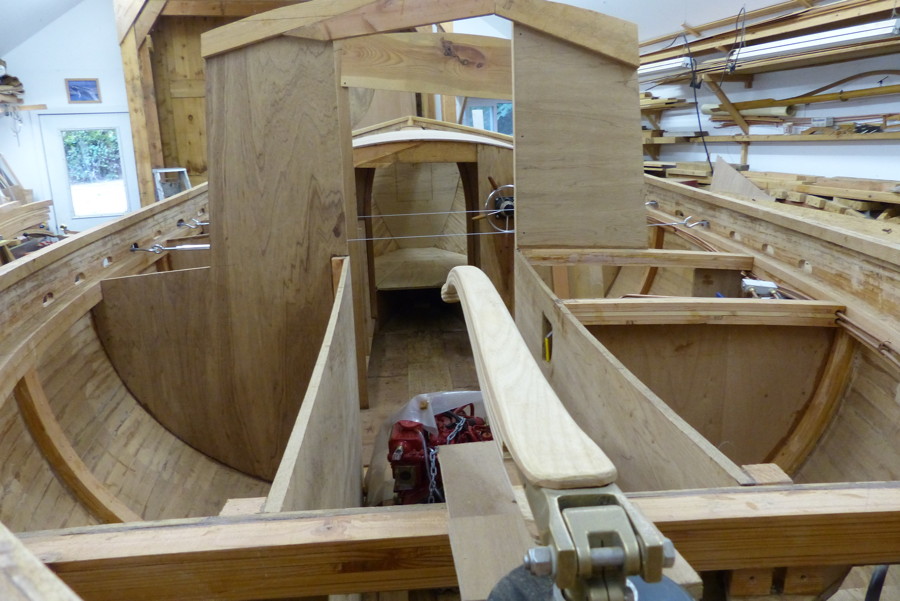
The turnbuckles. These have been tensioned to probably a few hundred pounds and should serve to prevent any undue stress on the cabin bulkhead joints in the move.
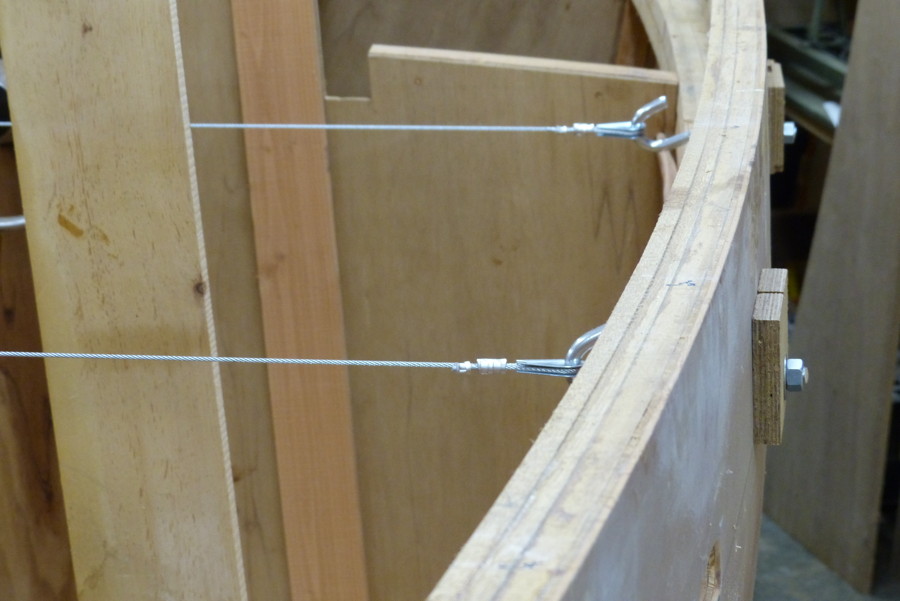
The other side.
The engine was just sitting on its beds, not fastened down. Gary wanted the minimum weight in the hull for the move so I since hoisted it out.
View looking forward.
Looking in from outside.
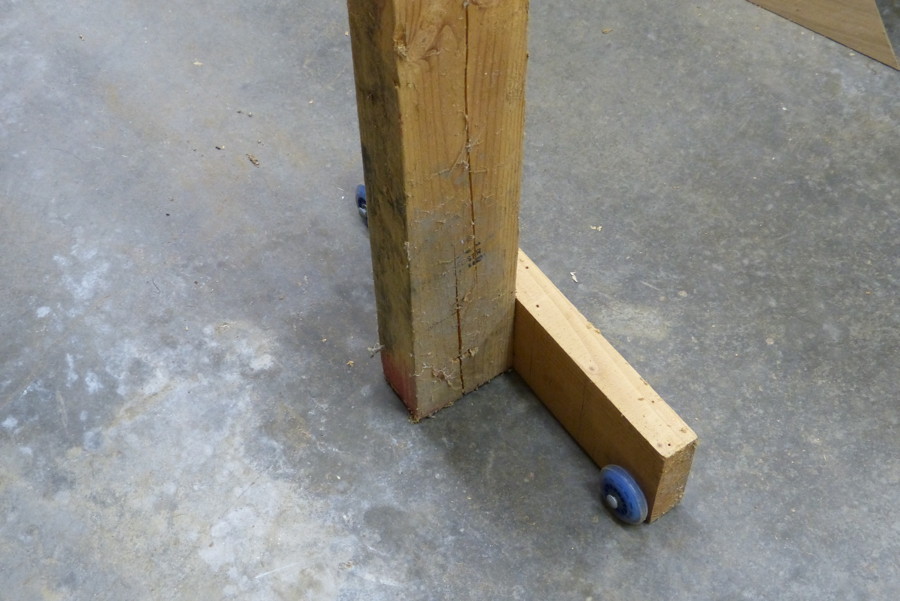
The last time I moved the lifting beams, it was time consuming so this time I installed some inline skate wheels under the feet to make it roll. They work great!
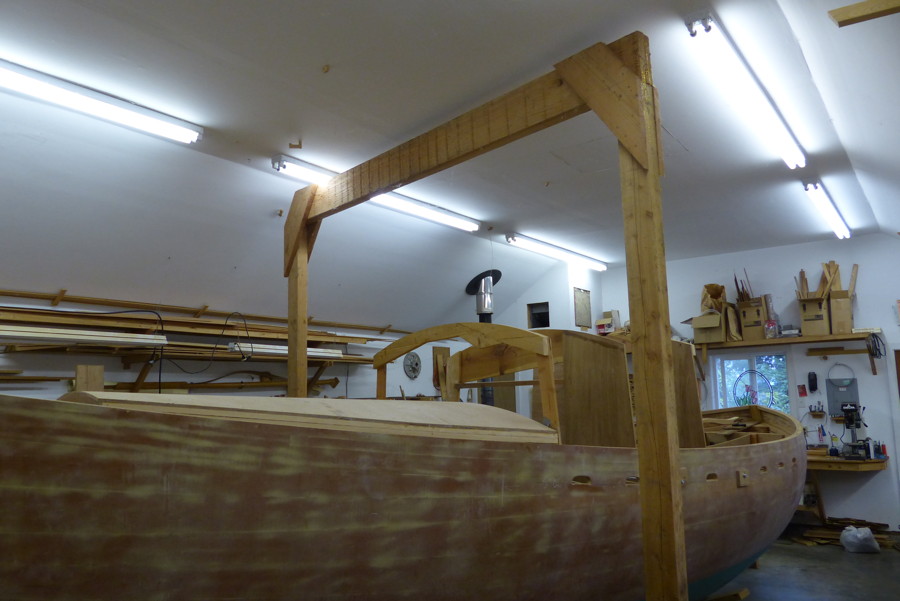
I had forgotten that the beams had minimal clearance under the light bulbs. With the added height for the wheels, the beams hit the lights on both sides.
But they were easily removed.